Can Hairline Stucco Cracks Cause Water Damage?
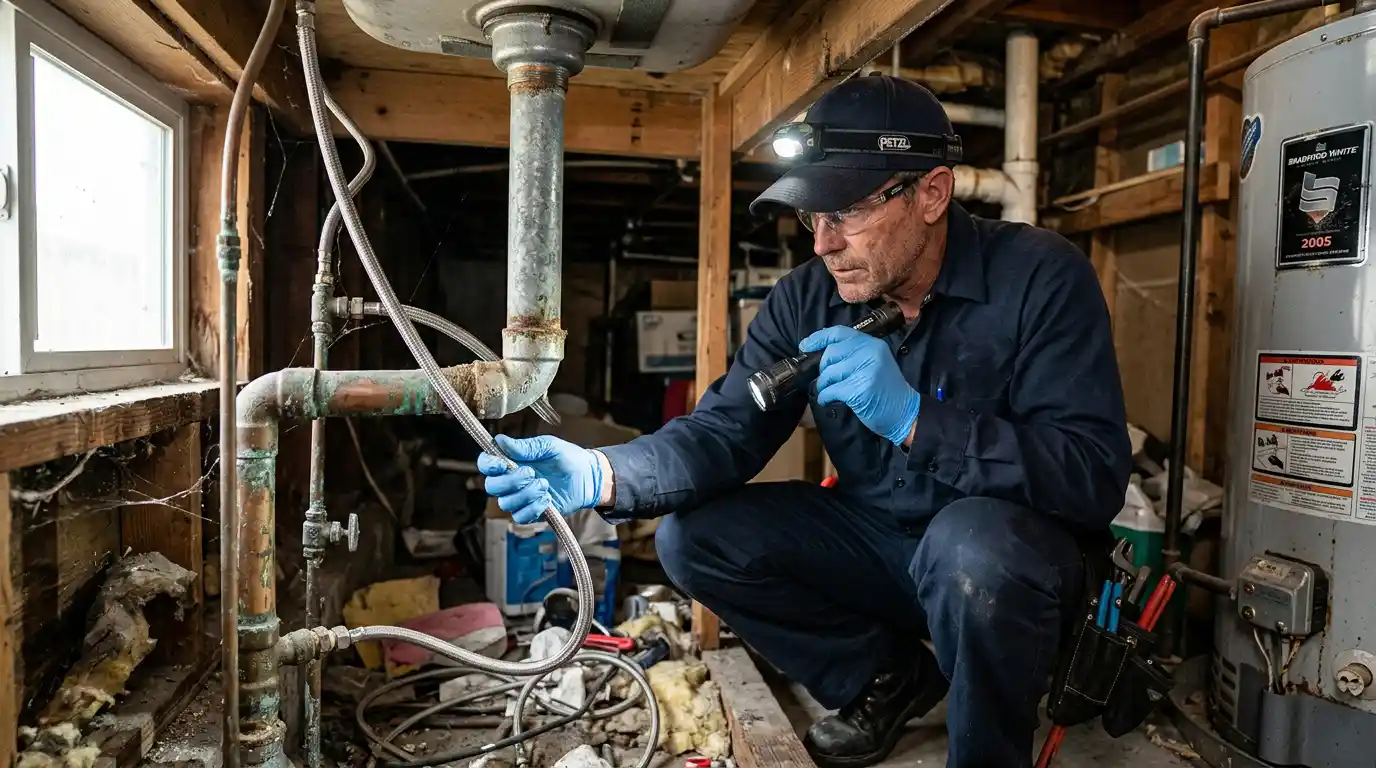
Wind-driven rain can test exterior walls, cold snaps can expose vulnerable plumbing, HVAC condensation can build quietly, and turnover can reveal stains. In stucco buildings, a thin crack may look cosmetic, but it can also be the first clue that water has reached places you cannot see.
Can hairline stucco cracks let water inside?
A hairline crack is small, but water does not need a wide opening to create a hidden moisture path.
Hairline stucco cracks are common because stucco expands, contracts, cures, and moves with the building. Many stay shallow. The concern begins when the crack is exposed to repeated wetting, sits near a window, follows a roof-to-wall transition, appears around doors, or returns after repair.
Stucco should not be judged only by the wall face. A healthy wall assembly manages moisture through surface condition, sealant joints, flashing, drainage, and drying. When one part fails, even a narrow crack can help water move behind the finish coat.
Ask: “Where is it, what is behind it, and has water repeated the same path?”
Why stucco cracks become a water damage problem
The risk increases when water gets in faster than the wall can drain or dry.
Regional properties face moisture stress from seasonal patterns. Concentrated Pacific moisture, such as the storm pattern described in this NOAA explanation of atmospheric rivers, can bring sustained wetting. Foothill neighborhoods may also see wind-driven rain hit wall faces at angles that expose weak sealant joints, parapet edges, and window perimeters.
Repeated wetting changes the risk
A one-time sprinkle across a shallow crack is different from repeated soaking during a storm cycle. Water can collect behind paint, move through porous materials, and settle at the bottom of wall cavities. If the wall does not dry between events, the next wetting starts from an already damp baseline.
Hidden moisture moves sideways and downward
Inside the assembly, moisture can wick into drywall, spread behind baseboards, collect under flooring, and sit inside insulation. A room may look dry while concealed materials remain damp. The same principle is central to the role of dehumidifiers in water damage restoration, where drying depends on more than surface appearance.
Materials can fail after the rain stops
Secondary damage often appears late. Bubbling paint, warped trim, musty odor, swollen baseboards, rust around fasteners, stained flooring edges, or finish cracks that widen after the weather clears can suggest the wall is holding moisture, not simply showing age.
Warning signs that a stucco crack is no longer minor
This section helps you separate routine monitoring from a situation that needs deeper evaluation.
Not every hairline crack points to interior water damage. Still, certain patterns deserve a closer look. Pay attention to cracks that widen, branch into spiderweb patterns, run diagonally from window or door corners, or appear below roof intersections.
Staining, efflorescence, soft drywall, persistent damp odor, peeling interior paint, and baseboard swelling are stronger warning signs than the crack alone.
When a crack is paired with staining, odor, wet drywall, soft materials, or suspected wall-cavity moisture, water damage restoration may involve inspection, water extraction, drying, dehumidifying, and moisture mapping.
What to check before sealing a hairline crack
Sealing too soon can trap the very moisture you are trying to prevent.
- Before patching or painting, inspect the area around the crack.
- Look above it for roof runoff, gutter overflow, missing kick-out flashing, failed caulk, wall penetrations, hose bibs, lights, vents, or irrigation spray.
- Inside, check the matching wall area for odor, cool or damp surfaces, paint bubbling, staining, or flooring movement.
Do this first
- Document the crack with photos.
- Note whether it changes after rain, irrigation, HVAC use, or cleaning.
- Keep water away from the wall where possible.
- Clear blocked drainage paths.
- Move stored items away from the interior wall so you can see baseboards and flooring edges.
Avoid these mistakes
- Do not paint over recurring cracks without checking moisture.
- Do not caulk wet stucco and assume the problem is solved.
- Do not rely only on household fans if the wall cavity may be damp.
- Do not ignore a musty odor after the surface looks normal.
If materials were wet, the EPA mold cleanup guidance reinforces prompt drying and moisture control.
How professionals determine whether the wall is wet
A moisture assessment looks for evidence, not just visible damage.
Hidden water damage requires layered inspection. A visual walk-through can identify crack patterns, staining, drainage problems, and suspect interior finishes. Moisture meters compare affected and unaffected materials. Thermal imaging can locate temperature anomalies that may point to concealed dampness, although it does not directly see water.
Moisture mapping narrows the scope
A good drying plan targets the path water actually took. Moisture mapping can show whether the issue is isolated to the crack area or has spread into insulation, trim, flooring, cabinetry, or adjacent rooms. The same logic appears in guidance on preventing secondary water damage, where verified dryness matters more than how the surface looks.
Drying equipment must match the materials
Air movers, dehumidifiers, extraction equipment, meters, and thermal tools all play different roles. The goal is to remove moisture from affected materials while controlling humidity so dampness does not re-wet nearby finishes. A practical overview of equipment used to dry water-damaged areas explains why equipment placement and verification matter.
Mold risk depends on moisture, materials, and time
Mold concerns should stay practical, not alarmist. Damp drywall paper, wood, dust, insulation, and trapped cavities can support growth when moisture remains. If visible growth, persistent odor, or contaminated porous materials are present, mold removal may become part of the repair plan after the water source is corrected.
Seasonal prevention for stucco walls
Prevention is easier when exterior maintenance follows the seasons that stress the building.
Before storm periods, inspect hairline cracks, wall penetrations, window perimeters, roof edges, gutters, downspouts, and low wall areas. After heavy wind-driven rain, check wall bases, corners, closets, and closed rooms.
During cold snaps, watch exterior-facing plumbing walls and garage-adjacent spaces. During HVAC season, monitor condensation near ducts, vents, mechanical closets, and poorly ventilated rooms.
Older homes, mixed-use districts, foothill properties, valley communities, and multi-tenant buildings often have layered repairs from different eras. A crack that looked minor last year may deserve a closer look if a new odor, stain, or finish failure appears nearby.
When you need a non-destructive first look, infrared thermal imaging for hidden moisture can help identify areas that need follow-up testing.
Hairline stucco cracks do not always mean water is inside the wall. They do mean the wall deserves inspection when wetting, plumbing stress, condensation, or delayed discovery is part of the story.
Find the source, verify whether materials are wet or dry before repairs, and avoid cosmetic fixes that hide moisture until secondary damage appears.
Frequently Asked Questions
No. Many hairline cracks are shallow and relate to normal movement, curing, or temperature changes. The risk rises when the crack is repeatedly wet, located near openings, or paired with staining, odor, peeling paint, or interior softness.
Yes, especially if it is in a high-exposure location or if flashing, sealant, drainage, or paint has failed nearby. Size matters, but location and water exposure matter just as much. A narrow crack can become more important when moisture follows the same route repeatedly.
Watch for musty odor, bubbling paint, staining, swollen trim, soft drywall, flooring movement, or recurring dampness near the wall base. These clues may appear after the exterior looks dry. Hidden moisture can remain inside cavities, insulation, and trim areas.
Not until you have checked whether the area is wet. Sealing over damp stucco or an active moisture path can trap water behind the finish. First, look for drainage problems, failed caulk, roof runoff, window leaks, and interior moisture signs.
Windows and doors interrupt the wall system, so they rely heavily on proper sealing, flashing, drainage, and movement control. If those details weaken, water can enter around the opening and appear as staining, soft drywall, or cracking nearby.
Moisture is the key condition that allows mold concerns to develop in suitable materials. Damp drywall paper, insulation, wood dust, and concealed cavities can create risk if they stay wet. Keep the focus on correcting the water source, drying the area, and using a qualified evaluation when growth or odor is present.
Usually not if moisture reaches the wall cavity. Fans may dry a surface while insulation, drywall backing, trim, and framing remain damp. Drying often requires moisture readings, airflow planning, dehumidification, and follow-up checks.
Track crack location, photos, tenant reports, odors, interior stains, and changes after storms or maintenance work. Shared walls, storage rooms, corridors, and storefront transitions deserve extra attention. Delayed reporting can allow moisture to spread beyond the original crack area.
1. Avoid painting, caulking, or texturing over the area before checking moisture.
2. Avoid disturbing suspect mold-like growth or wet materials without a plan.
3. Also, avoid assuming a dry-looking wall is dry inside, especially after repeated wetting.
Thermal imaging can help locate temperature differences that may indicate hidden moisture, but it does not directly see water. A sound assessment pairs thermal scanning with moisture meters, visual inspection, humidity checks, and building-context clues.
Mold removal may become relevant when visible growth, persistent odor, contaminated porous materials, or prolonged dampness are present. The water source still needs to be corrected first. Otherwise, the cleanup may not address the condition that allowed the problem to develop.